How to prepare a house for better interior painting?
If you are planning to change your house appearance or maybe make your house leave its old shape, interior painting can be one of your priorities! We are here to guide you on how to prepare a house for interior painting.
As you might search, some companies can help you with this aim. If you are living in Sydney, luckily, King Painting is one of your options, you can contact us and get your home professionally painted.
Let’s continue with the subject of preparing.
Count it as a vital part of the painting
Preparing your house for interior painting is as important as the whole painting process, like choosing the color, finding a professional painter company, and so on!
So, if you are thinking to skip it, stop and think again!
The remarkable point that we want to emphasize here, is not only doing preparing but the way you do it!
By right preparing, you will save time and money simultaneously! So, you are going to be super happy with the interior painting result!
We will show you all the essentials and even some additional steps if you want to go further forward.
2 Main Parts To Prepare A House For Interior Painting
Yes, prep a house for interior painting needs two essential parts.
First part
The first part is protecting. You need to protect your floors, furniture, and anything you don’t want to get paint on.
Second part
The second part is preparing. You need to Prepare your trim, walls, and so on.
Let’s dig in deeper, and get you more details.
5 Tips for interior house painting
We provide you 5 essential tips on how to prepare for your house interior painting and have a better experience with the painting result.
Clear the house
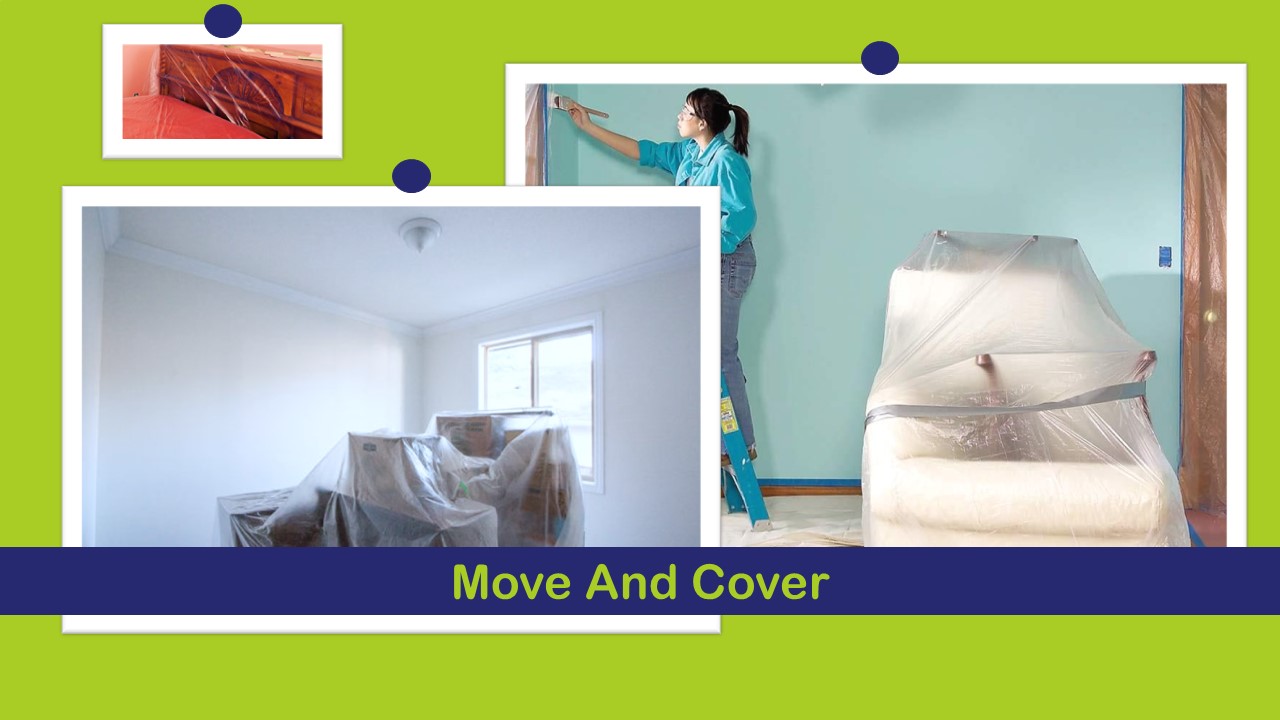
The first thing you need to do for preparing a house is to clear all the furniture, accessories out of your house and clear off the walls. Pull out the nails except for the ones you will need the exact place after painting and don’t want to change!
Whatever you can not get out of the room, still protect them. So, move them to the center of the room and cover them up with plastic sheeting.
Protect your floors
If you care about your carpet or your floors, the next step is protecting them.
you can put down plastic sheeting underneath a drop cloth.
why?
There is a chance that the painter could spill some paint and it could go through the drop cloth. So, you need to use plastic sheeting as just an extra precaution to protect your carpets.
Which size?
2 mil is a great thickness in terms of durability. It is gonna hold up more to foot traffic. Anything thinner than that it may tack.
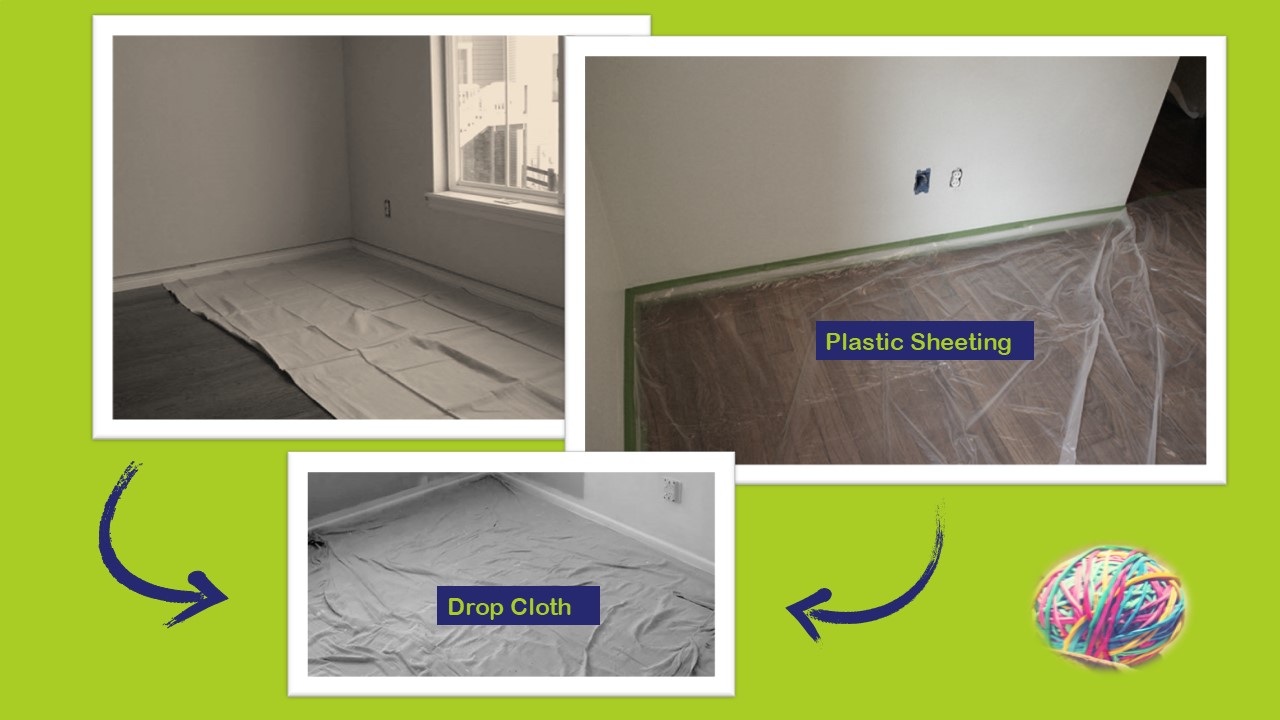
Additional tip: Use painters’ tape and connect the plastic sheeting up onto the baseboard. (Don’t worry, removing it later will be easy)
Wall prep
Depends on what your wall surface is (drywall, plaster, etc), it can be a little bit different. We consider that your wall is drywall. Because it is the most relatable to most of you (you can contact king painting and we help you, no matter which kind of wall you have).
You need to inspect the walls for holes, cracks, dings, dents, and dirt.
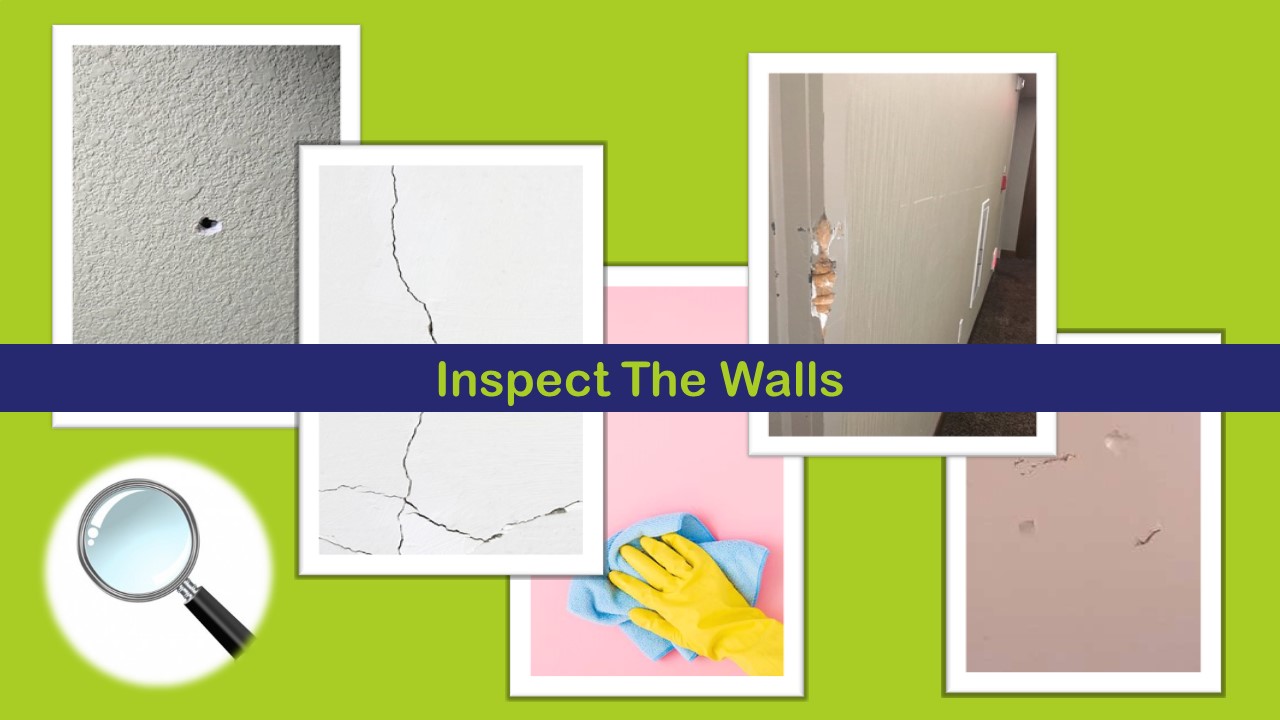
You should clean the dirt off the walls with a dry rag and then prepare a spray bottle that contains: (cover all the corners)
- warm water (3 cups water)
- 2 tablespoons of a gentle detergent.
The next step is repairing wall flaws. If there is any hole on your wall, you need to fill it before painting. Keep in your mind, if you skip that, the flaws won’t disappear after the painting job!
For this aim, you might need to use a joint compound (in case the hole is deeper).
In this way, you might want to relief from your old paint drips, all you need to do is using some relatable tools such as 220 finish sandpaper on them, and then your wall will turn to a nice and smooth form.
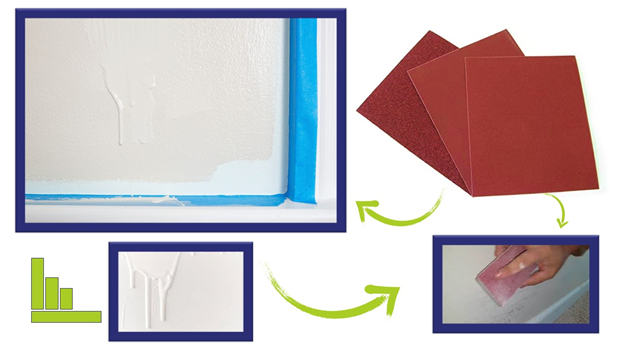
Make sure your walls don’t have any imperfection cases!
Additional tip: Use eye protection and the mask when you are doing finish sanding.
Remove outlet and switch plate covers
The first step to removing is actually going and shutting off the breaker for your house.
Then start removing switch plate covers, and put screws right back in, to avoid missing or placing wrong after interior painting.
After that, you need painter’s tape to cover up the holes in your outlet to avoid getting paint on those!
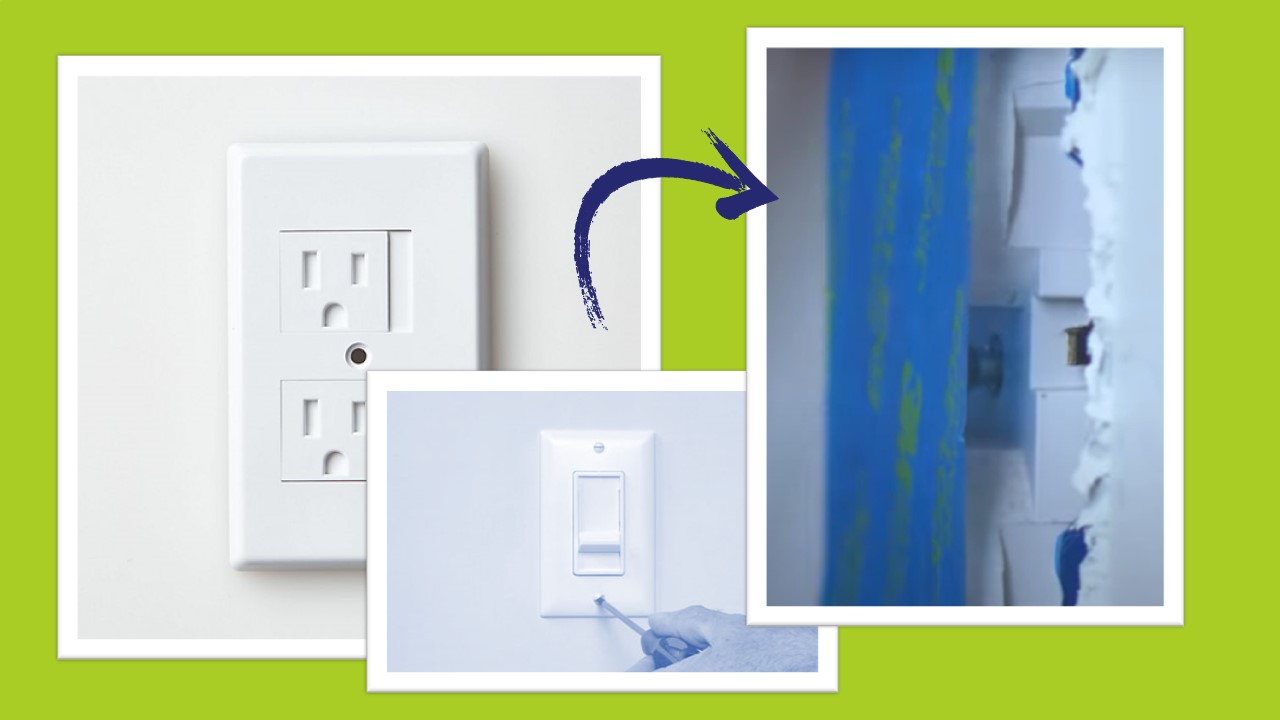
Time to tape
In the world of painting , start painting with trim or walls, is argued by many people.
Everyone has an opinion on it, and you can make a good case either way.
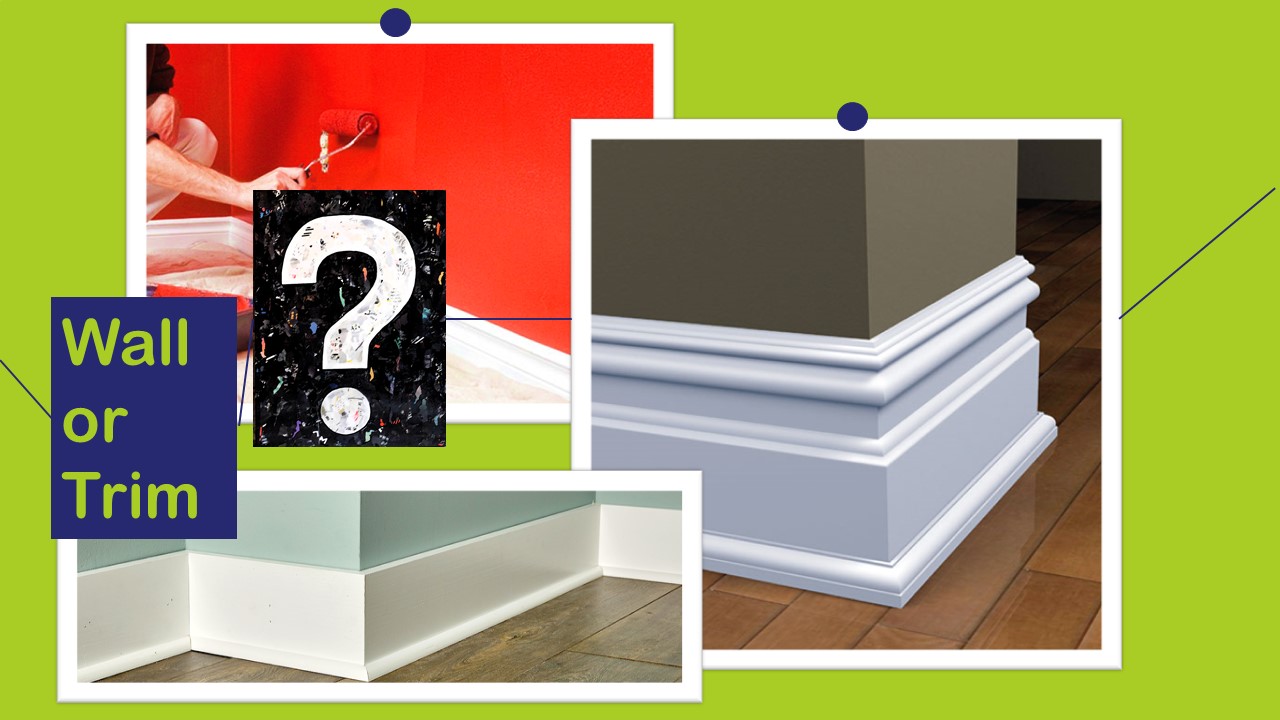
But for an average homeowner, we are going to recommend you start with the walls. This way, if you have any overspray or anything on your trim, it is kind of the last thing you do.
The next step is taping off your baseboard and trim. You need to have a 2-inch painter’s tape. So, start back in the corner and then lining it up with the top of the return.
The key here is to try not to work in small segments, you just want to work in one long piece. So, you have a perfectly seamless long line instead of starting and stopping.
Sealing the tape is your coming movement. Nothing is worse than taping and then coming back a few minutes later and seeing that it is kind of flopped off the wall!
You have a couple of options to do this.
- use the edge of your 5 in 1 tool
- use a plastic putty knife
- use the corner of a credit card or anything similar
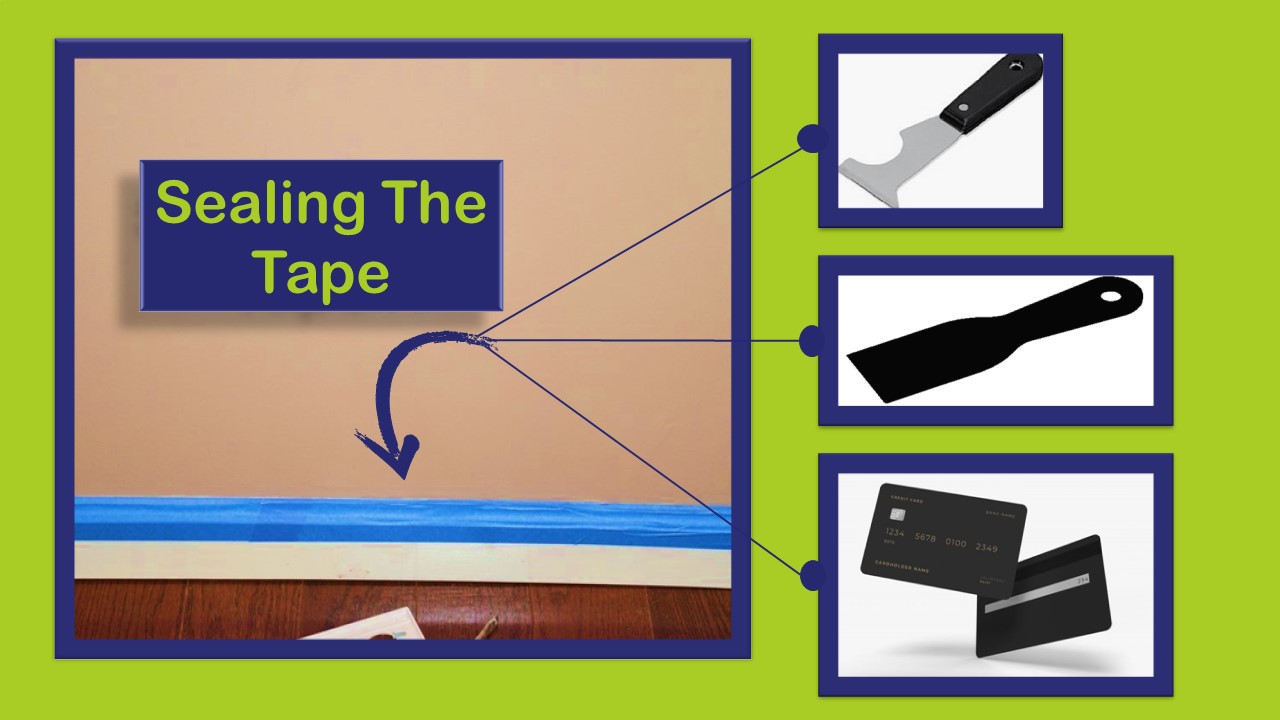
You only need to drag that right along the corner as well.
Additional tip: for taping off your baseboards, you can also tape off all the window and door casings.
In conclusion
Preparing a house for interior painting (and even strata painting, abseil painting and so on) needs to take your time and protect all your surfaces and then prep your wall by cleaning, patching holes, and sanding!
Don’t forget to do it right! If you need help, King painting is here to help you!
